BLOG
How to Make a Pillowcase to Help Your Ill Child Cope
Making a pillowcase is a great way to cheer up a child with an illness or injury and help them cope. Maybe you’ve already received one of our bright, unique pillowcases from Ryan’s Case for Smiles while in treatment at one of our partner hospitals, and would like to make more. Or they may not be available in your area. In either case, taking time with your child to make your own pillowcase is a great way to empower them during an often-terrifying treatment process. And sewing their own pillowcase is just plain fun to do!
Why Sew a Pillowcase
A child’s illness or injury can be scary and confusing for everyone. Your child may face separation anxiety, pain, fear, a loss of control and of course, lots of uncertainty. In fact, research indicates up to 80% of children and their families experience some traumatic stress reactions following a life-threatening illness, injury or painful medical procedure. And when these stress reactions occur frequently, or for over a month, they can become post-traumatic stress syndrome (PTSD).
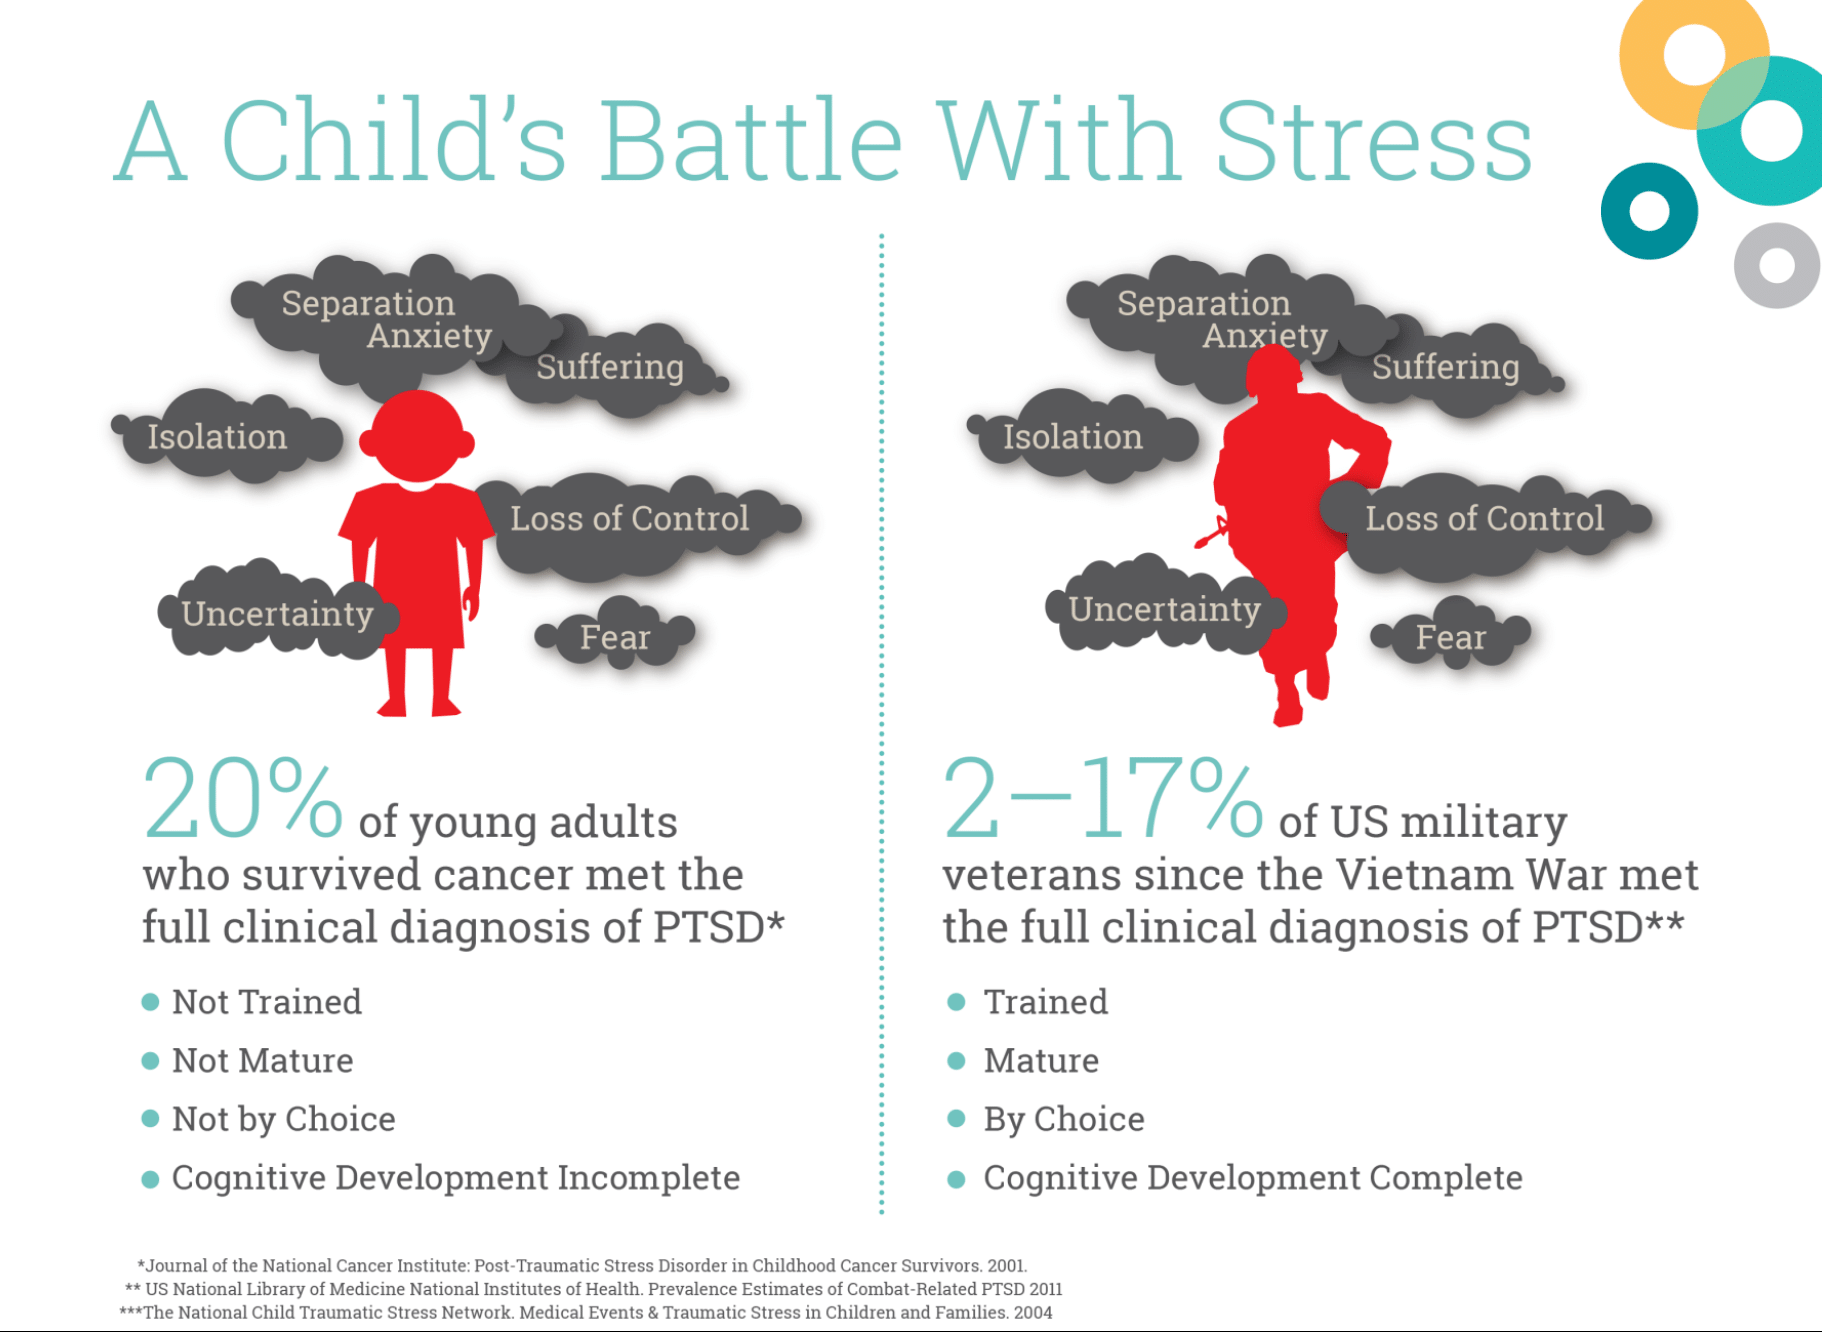
PTSD contributes to poor physical health outcomes including increased risk of re-injury, deficits in health-related quality of life, and poorer school and physical functioning. But while these statistics can be scary, there is good news. Trauma can be minimized, and outcomes improved through experiences that reduce stress – like sewing a pillowcase.
The Benefits of a Case for Smiles Pillowcase
Making one our Case for Smile’s pillowcases can give your child, and yourself, an emotional boost and remind you both that you’re not defined by their illness. Choosing their own fabric and sewing provides distraction, expression and a sense of choice and control. And having their own pillowcase to bring to treatment will offer comfort, hope, familiarity, and a connection to home.
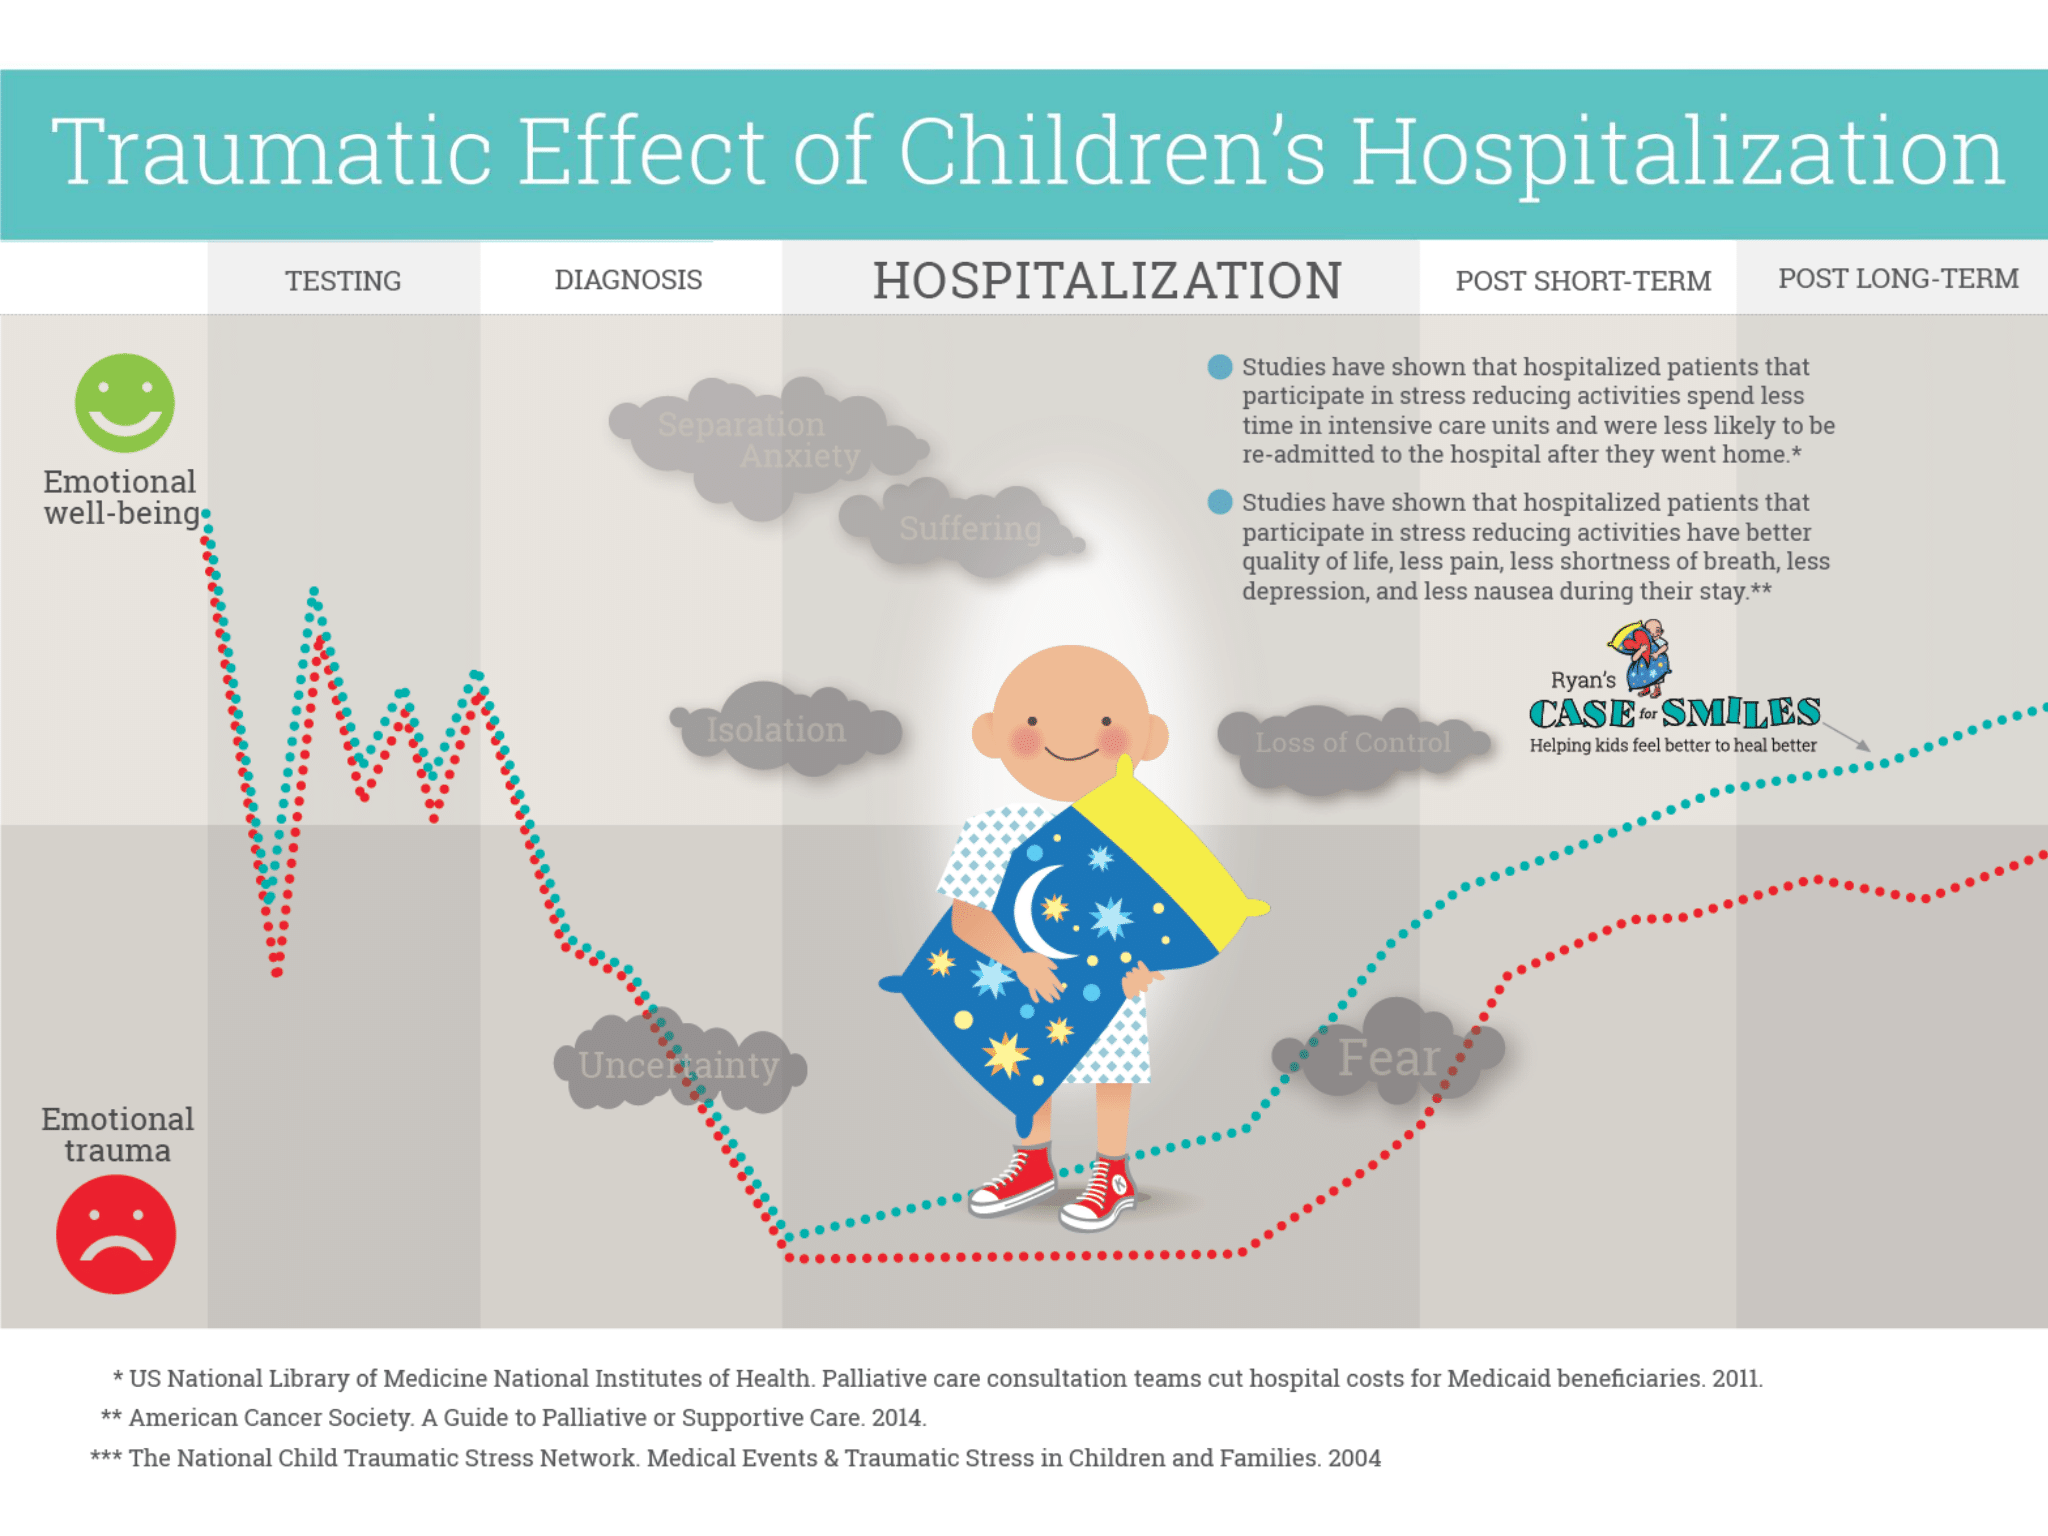
Best of all, when your child feels better, they’ll heal better. Studies have shown that hospitalized patients that participate in stress reducing activities spend less time in intensive care units and are less likely to be re-admitted once they return home. Additionally, they have better quality of life, less pain, less shortness of breath, less depression, and less nausea during their stay.
If your child isn’t well enough to sew, don’t worry. They can still reap many of the benefits by providing one yourself. Having a pillowcase made with love will still provide your child with comfort, hope, familiarity, and a sense of connection. Plus sewing is a great stress-reducing activity for you, a sibling, or friends and family members.
Pillowcase Instructions
Ready to get started? Below are simple instructions to sew a pillowcase in nine easy steps. We recommend “the hot dog method” by Kris Driessen. You can also download the full Case for Smiles instructions for sewing a pillowcase.
Hot Dog Method to Sew a Pillowcase
Supplies
- Sewing Machine (You can often borrow one from a friend/neighbor, if you need)
- Fun, bright fabric with kid-friendly designs (We recommend cotton)
- 1/3 yard of border fabric (This will be the “bun”)
- 3/4 yard of main pillowcase fabric (This will be the “hot dog”)
- Spool of thread that matches fabric
Preparation
- Cut the “bun” of fabric into a strip that’s 10 ½ inches by 40 ½ inches
- Cut the “hot dog” portion of fabric in a strip that’s 26 ½ inches by 40 ½ inches
9 Steps to Make a Pillowcase
Step 1: With the border of the pillowcase laying right side up on the surface in front of you, take the body of the pillowcase and place it right side down on top of the border.
Step 2: Match up the corners of the short 26 ½” end of the body to the 40 1/2” end of the border, so that you can no longer see the border in front of you. Make sure to keep the two edges of the fabrics together for the next few steps.
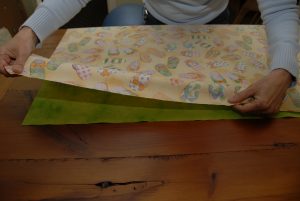
Step 3: Roll up the other short end of the body until you are about an inch or two away from the other end.
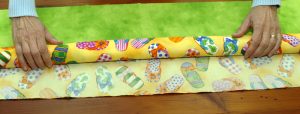
Step 4: You should see the other end of the border peeking out from underneath the body. Take that edge of the border and fold it over the rolled-up body aligning its corners with the other two pieces of fabric on the other side.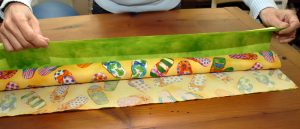
Step 5: Pin these three layers of fabric together and sew a 1/2” seam along that edge taking out the pins as you go along. You will begin to see the “hot dog” and “bun” analogy, with the body rolled up as a “hot dog” inside the border which is acting as the “bun.”
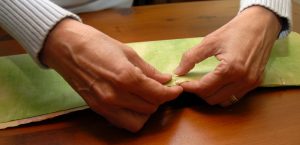
Step 6: On either end of this “bun” piece, you will see the rolled-up body inside the sewed-up border.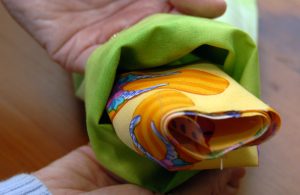
Step 7: Roll back the border while simultaneously pulling out the body from within.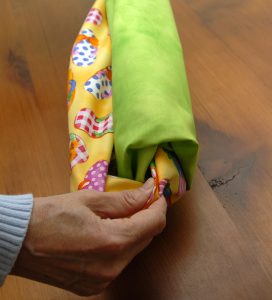
Step 8: Your pillowcase is almost complete! All that’s left is two more seams, which are done by folding the pillowcase in-half with the wrong side facing out and sewing along the bottom and side of the pillowcase.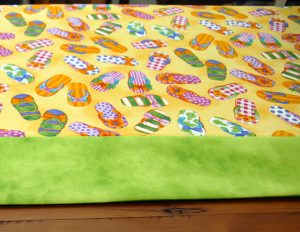
Step 9: Turn the pillowcase inside-out, and you finally have your finished pillowcase. Enjoy!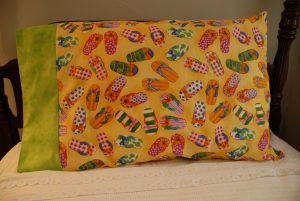
Bonus Step: You can perfect the edges by finishing the seams, using either a zig zag stitch or serger. But this is completely optional.
More Ways to Help Your Child Cope
As you can see, sewing a pillowcase is a great activity to provide distraction and stress relief to a child with an illness or injury. But there are many other ways to help. For more tips, advice and activities to support your child, visit the Children page or check out our list of favorite resources to help children cope. You’ll find ways to support them during treatments, advice for the transition back home, and ideas for stress relieving exercises to help them cope, And, please, don’t forget about caring for their siblings and yourself!
